 0
0 0
0 2
2 0
0 0
0 0
0


The girls and I both have long hair and to be honest mine really annoys me. I can’t tell you how many times I have threatened to cut it off, but I don’t. Mainly because I have been growing it for so long I hate to chop it off. So I keep it up a lot, mostly in a bun. Sometimes the girls do too but they are at that age where there hair is like everything and they like to show it off.
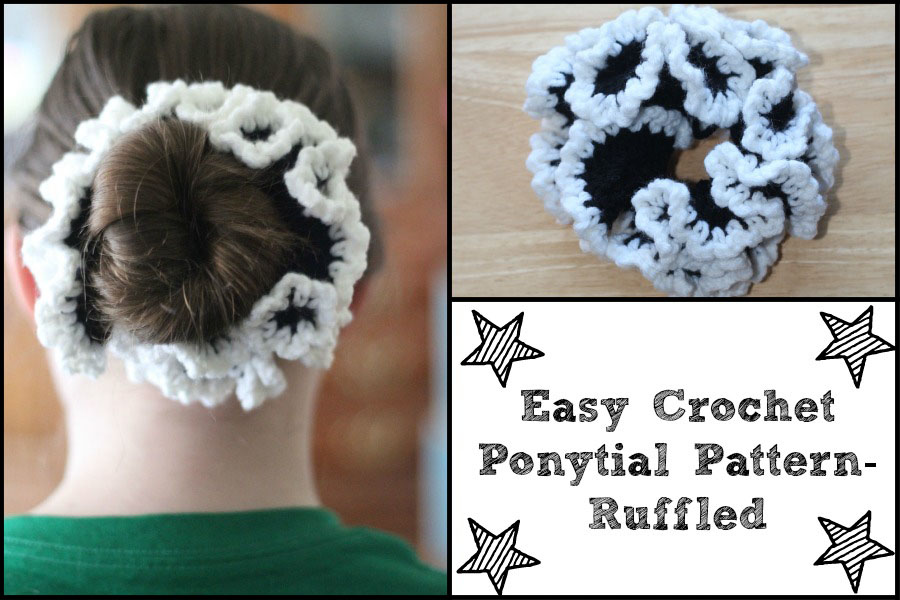
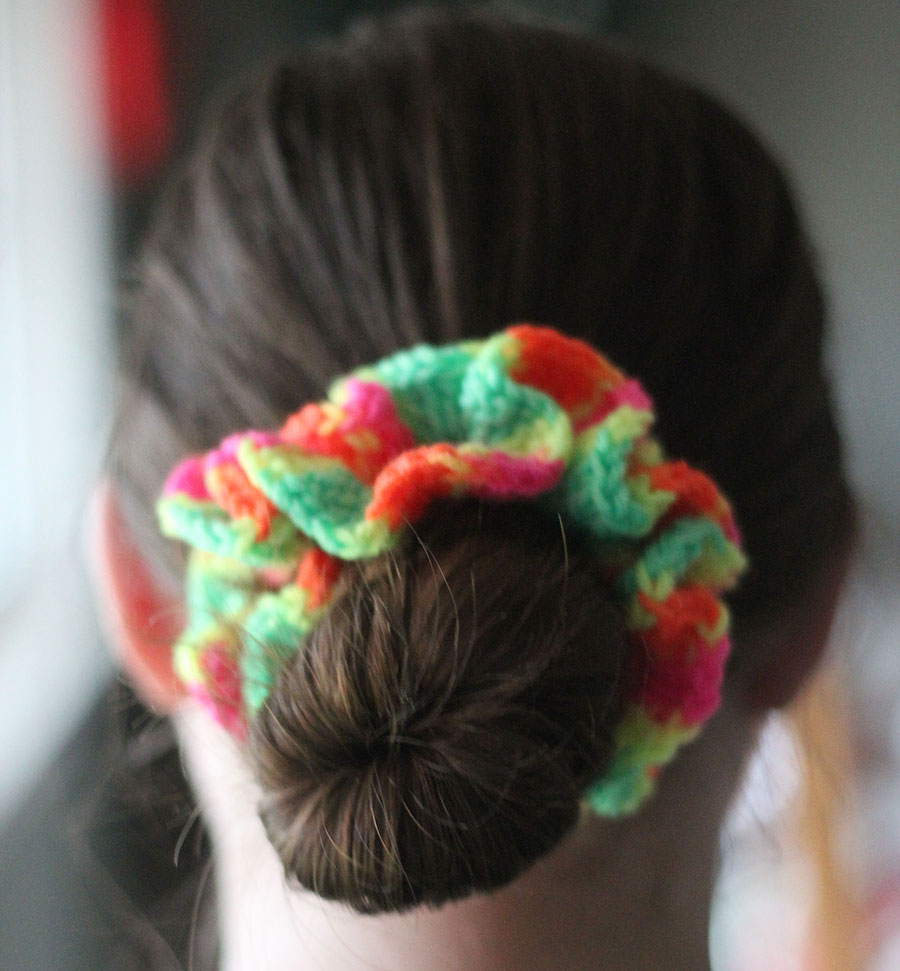
A bun is boring, really it is. My Mom often says “You look like an old lady, take your hair down.” and then when I do, I am annoyed. So I wanted something to spruce up my bun and make it not so boring and maybe *gasp* a little less old fogey. I found this really cute crochet pattern in one of my Moms old craft books and thought it would be pretty cute to change up and make it ruffled so it would fit around my bun. It also makes a really cute ponytail holder. It dresses up my old, tired bun and I think it is really cute. My youngest is modeling it in the pic above and to make it tween/teen friendly you can do some bold, eye popping colors or even their school colors.
These whip up in about an hour, if you are a slow crocheter like I am. If you are really fast like my friend Kris or my Mom, you could probably do it in a half hour. They are so fast to make they would be a great project for a bazaar or church sale. Or if you are looking for a way to raise money at school you could do them in the school colors. Plus they make cute gifts!
Before we get started, please note:
- I don’t use abbreviations and this is the first pattern I have ever tried to write. And it is not even a pattern, lol, it is just instructions.
- I am writing this in the understanding that you already know how to crochet.
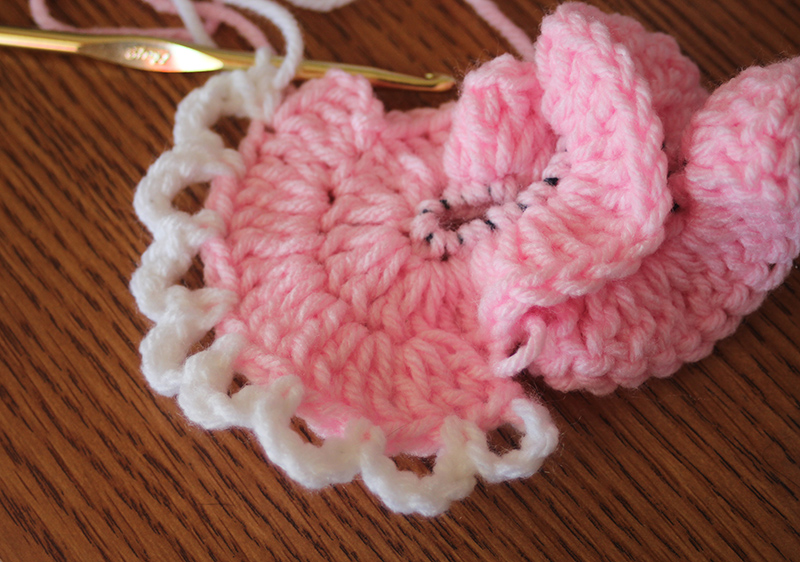
- For the purpose of pics, I stopped halfway to show you the look before it got too ruffled, you of course would go all the way around the stitches.
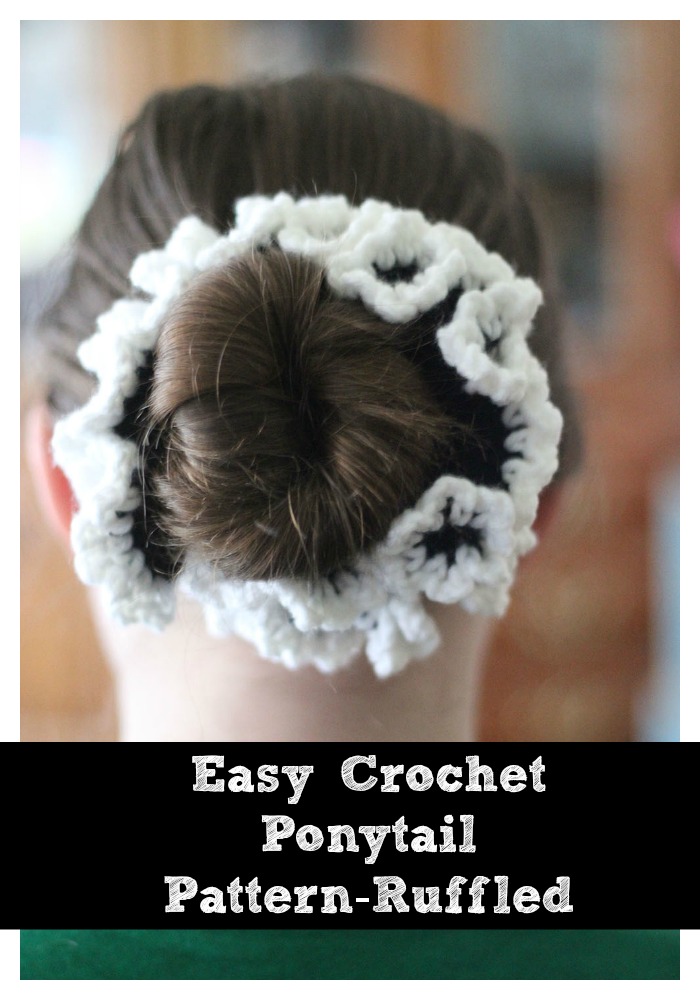
Easy Crochet Ponytail Holder- Ruffled
Materials Needed:
Size H crochet hook
Caron One Pounder worsted weight yarn, 1 in each color ( or you can use any yarn you want, this is what I used)
Ponytail holders- I buy mine at the dollar tree. You can get about 20 for a dollar.
Tapestry needle to weave in ends
Scissors to cut yarn
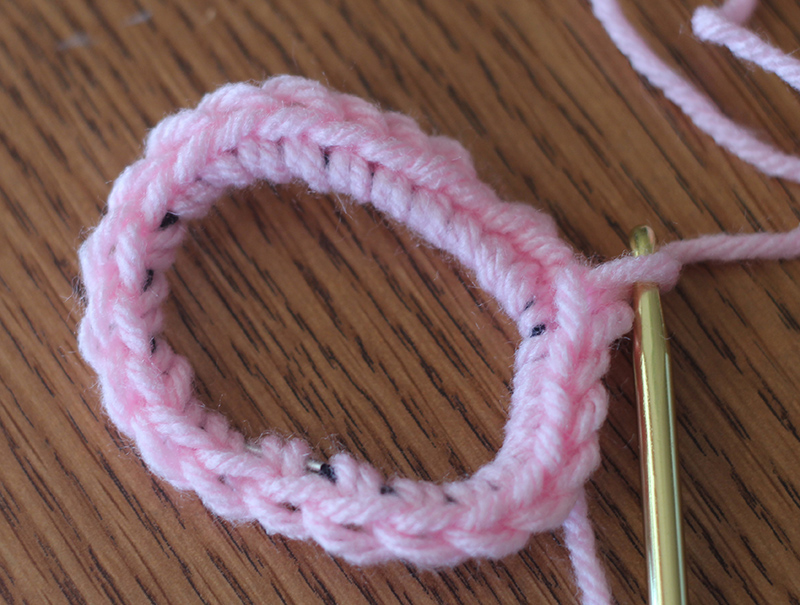
Step 1- (row 1)
Single crochet all the way around the pony tail holder. When you get to the end slip knot to attach the row to the first single crochet. Your stitches may vary, it really depends on how tight or lose crocheter you are.
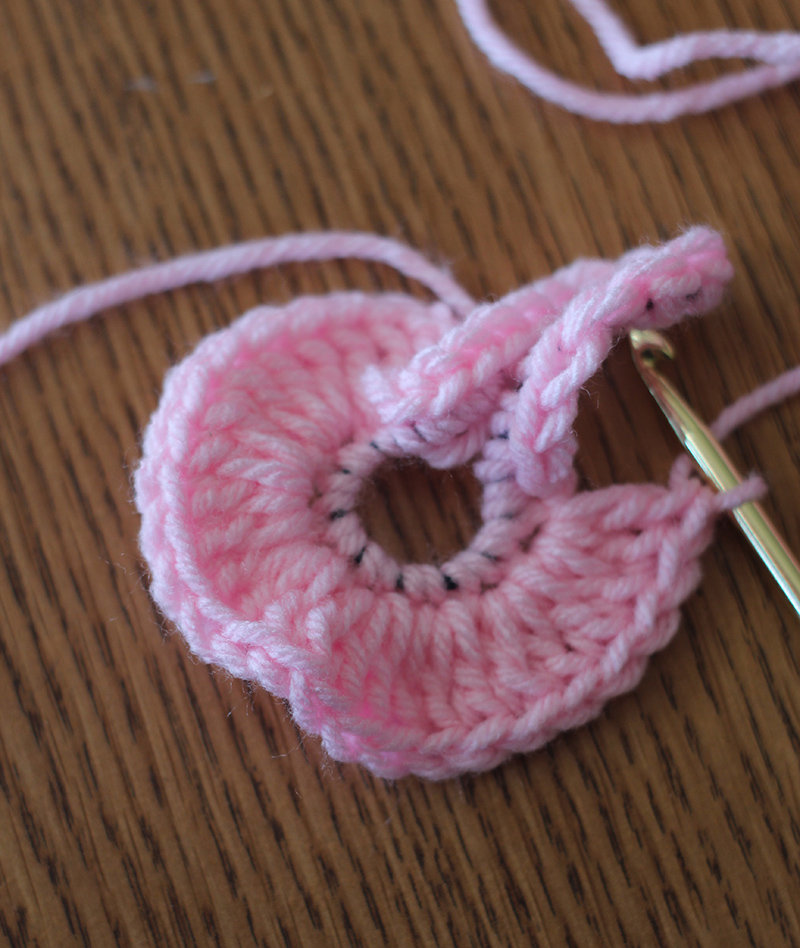
Step 2 ( row two)
Chain 3 and double crochet twice in the first stitch of the first row ( you will have 3 crochets, counting the chain). Crochet 3 double crochets in the next stitch and repeat in each stitch around. ( again, I only went halfway around to show you.
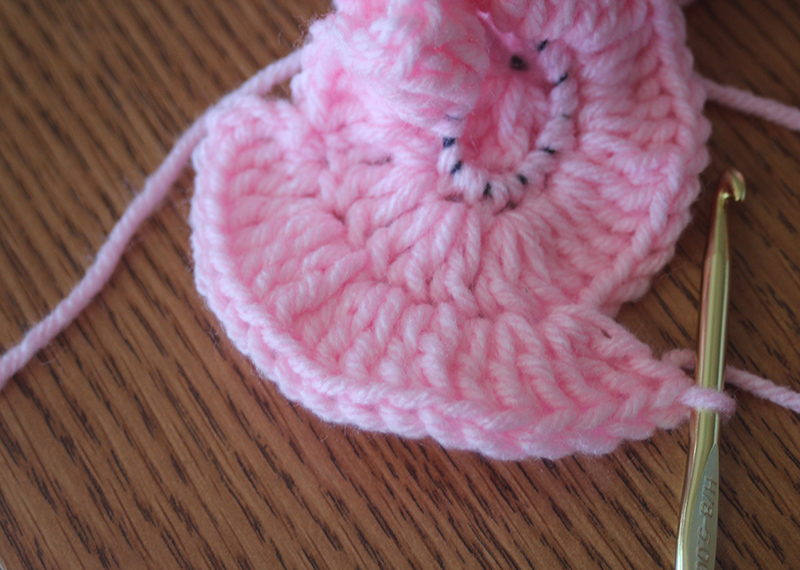
Step 3 ( row 3 )
Repeat row two. Halfway through now it is going to start really ruffling up. That is good, that is what is supposed to happen but watch your stitches. When it is really ruffled it is easy to skip a stitch.
Step 4 ( last row)
Slip stitch to close row 3, change color and chain 4. Single crochet in the next stitch. Chain 4, skip a stitch and single crochet in the next stitch. Repeat this all the way around and slip stitch to close. Finish off and weave in your ends. YAY! You are finished ![]()
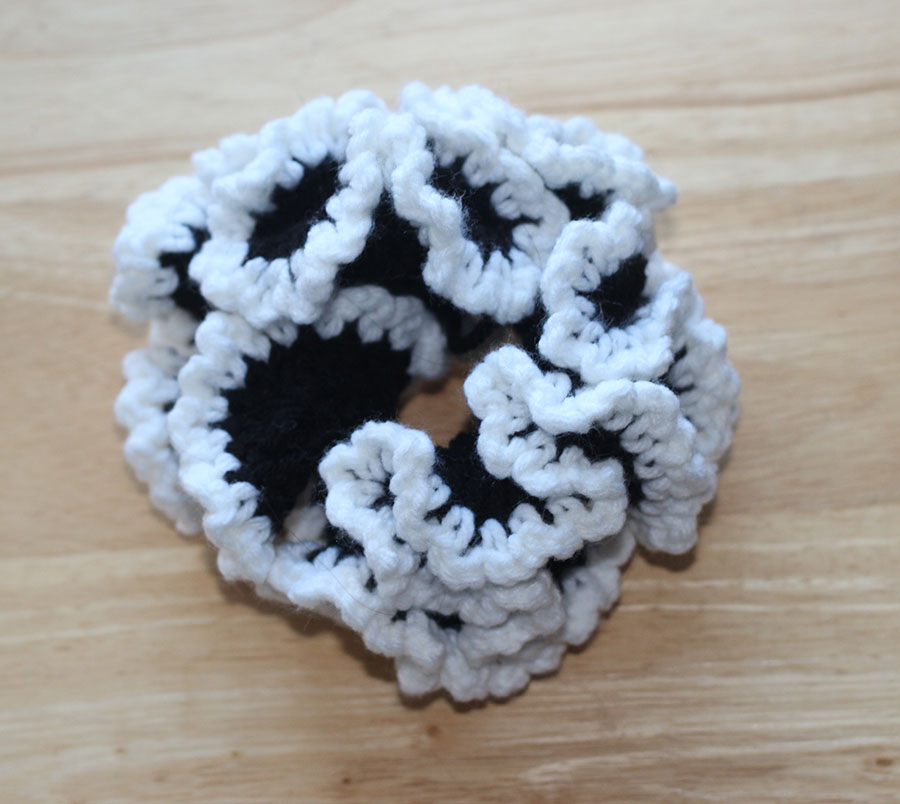
This is the finished project:
If you want a ruffled ponytail holder but may not as big as the one above, use a larger hook and leave off the edging. I did this one like that and it was much smaller and not as ruffled:
Like this project? Please don’t forget to pin it and share it with your friends ( and also make it easier to find later!)

Leave a Reply